
Dermaplaning is a sought-after skincare technique aimed at exfoliating the skin by gently removing dead cells, peach fuzz, and surface debris using a small, sharp blade. This process results in a smoother, brighter, and more radiant complexion, often likened to the effects of a professional facial. While dermaplaning is commonly performed by skincare professionals in spas or dermatology offices, the practice has gained popularity for at-home use with the right tools and techniques. Mastering the art of dermaplaning can elevate your skincare routine and leave you with glowing, refined skin.
Essentials for DIY Dermaplaning
To embark on your dermaplaning journey at home, you’ll need a few essential tools: a dermaplaning tool or eyebrow razor, a gentle cleanser, a hydrating toner or mist, and a moisturizer. It’s crucial to invest in a high-quality dermaplaning tool with a sharp blade and a comfortable grip to ensure safe and effective exfoliation. Avoid using regular razors or blades designed for shaving, as they lack the precision required for dermaplaning. Additionally, having a well-lit mirror and a clean towel nearby for easy cleanup is essential for a smooth and seamless process.
Cleansing and Prepping for Success
Before diving into the dermaplaning process, it’s vital to thoroughly cleanse your skin to remove any makeup, dirt, or impurities. Opt for a gentle cleanser suitable for your skin type and rinse thoroughly with lukewarm water. Pat your skin dry with a clean towel, then follow up with a hydrating toner or mist to rebalance your skin’s pH levels and prepare it for exfoliation. Avoid products containing alcohol or harsh ingredients, as they may irritate your skin during the dermaplaning process and compromise results.
Safe and Effective Dermaplaning
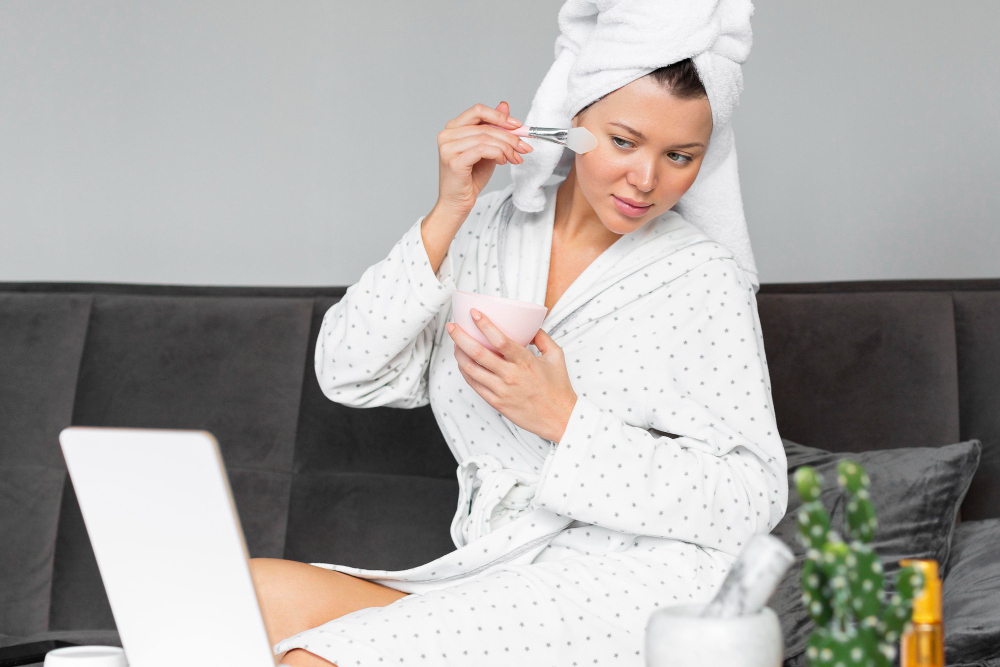
Once your skin is clean and prepped, it’s time to begin the dermaplaning process. Hold the dermaplaning tool at a 45-degree angle to your skin and use short, gentle strokes to remove dead skin cells and peach fuzz. Begin at the forehead and work your way down to the jawline, moving in upward motions for optimal results. Exercise caution around areas with active acne, cuts, or irritation, as dermaplaning may exacerbate these conditions. Apply light pressure and allow the weight of the tool to guide you, avoiding excessive force or over-exfoliation.
Nourishing and Protecting Your Skin Post-Dermaplaning
After completing the dermaplaning process, rinse your skin with cool water to remove any residual debris and pat dry with a clean towel. Follow up with a soothing moisturizer or hydrating serum to replenish moisture and nourish your skin. It’s imperative to apply sunscreen daily, as dermaplaning can heighten your skin’s sensitivity to UV rays. Shield your skin from direct sunlight and opt for protective clothing and accessories to prevent sun damage and maintain your newfound glow.
Incorporating Dermaplaning into Your Skincare Routine
To sustain the results of dermaplaning, consider integrating it into your regular skincare regimen. Depending on your skin type and preferences, you may choose to dermaplane once a week or every few weeks. Ensure you clean and sanitize your dermaplaning tool after each use to prevent bacterial buildup and preserve its efficacy. With consistent practice, you’ll notice a gradual improvement in your skin’s texture, tone, and overall appearance. Embrace the journey of DIY dermaplaning and revel in the transformative power of radiant, refined skin—all from the comfort of your own home.


Leave a Reply